Step-By-Step
The scope was nice out of the box, but I do much of my observing in
horrible conditions, so internal reflections became very
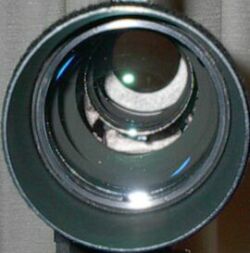
distracting. Looking
into the objective, I discovered three reflective rings and an opening to the rear that
allowed light into the system.
To fix these problems:
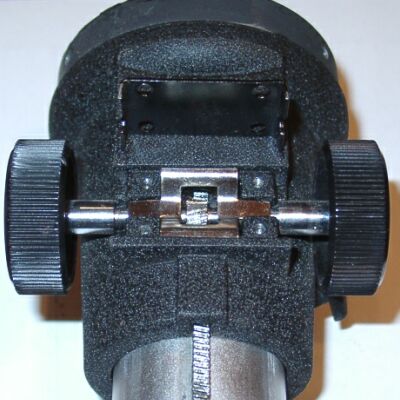
- Remove the screws holding focuser assembly to the tube.
- Wiggle the focuser assembly to loosen it, then remove it.

- Flip the focuser assembly over and remove the screws holding the
focusing knobs to the rack. (It's the four screws holding a flat
plate.)
- The focus knobs, the flat plate, and a spring assembly will come
free. Watch for excessive grease!
- Slide the focuser tube out the back of the assembly. Again,
watch for grease.
- Clean excess grease from the rack and pinion.
- Remove the rack from the tube (2 screws) and shorten the screw
closest to the aperture. I filed it down in place. Be
careful to NOT strip the threads! (The short screw is in the middle of
the black blob of paint inside the tube.)

- Blacken the inside of the focuser assembly. Use
self-stick felt, black markers, and/or flat black paint. Since
this isn't in the direct path, this isn't as critical as other
locations. Note that the original color of the unit is the same
as the light gray ring that fits against the tube itself.
- Blacken the front of the focuser ring and the diagonal with a black
marker or black paint.
- If present, blacken the face of the 2" to 1.25" adapter
with felt.
- Blacken any other bright areas to reduce internal reflections.
Remember to include the front of the focuser rack that faces the
aperture!
- Place weather stripping at the exit of the focuser assembly to seal
the gap between the assembly and the focuser tube.
- Reassemble the scope by reversing steps 1-7.
|
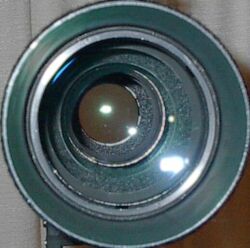
Harsh test
These photos greatly exaggerate the problem by "shoving" a
flash down the aperture to detect problem areas.
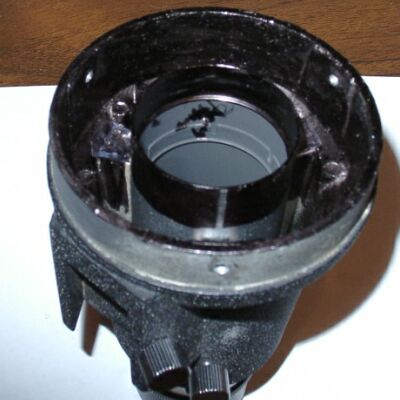
The ST102 before any work:
The large ring near the eyepiece opening is the 2" to 1.25"
adapter that has a shiny polished surface directly in the light
path! The screw in the light path is hidden in the glare at the end
of the focuser tube. Note that the internal baffles don't completely
mask the back end reflections.
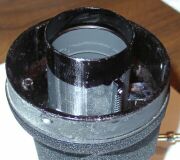
After the work:
It's not perfect, but contrast is improved dramatically. The end
of the focuser tube still remains a bit of a problem, but it's manageable. |